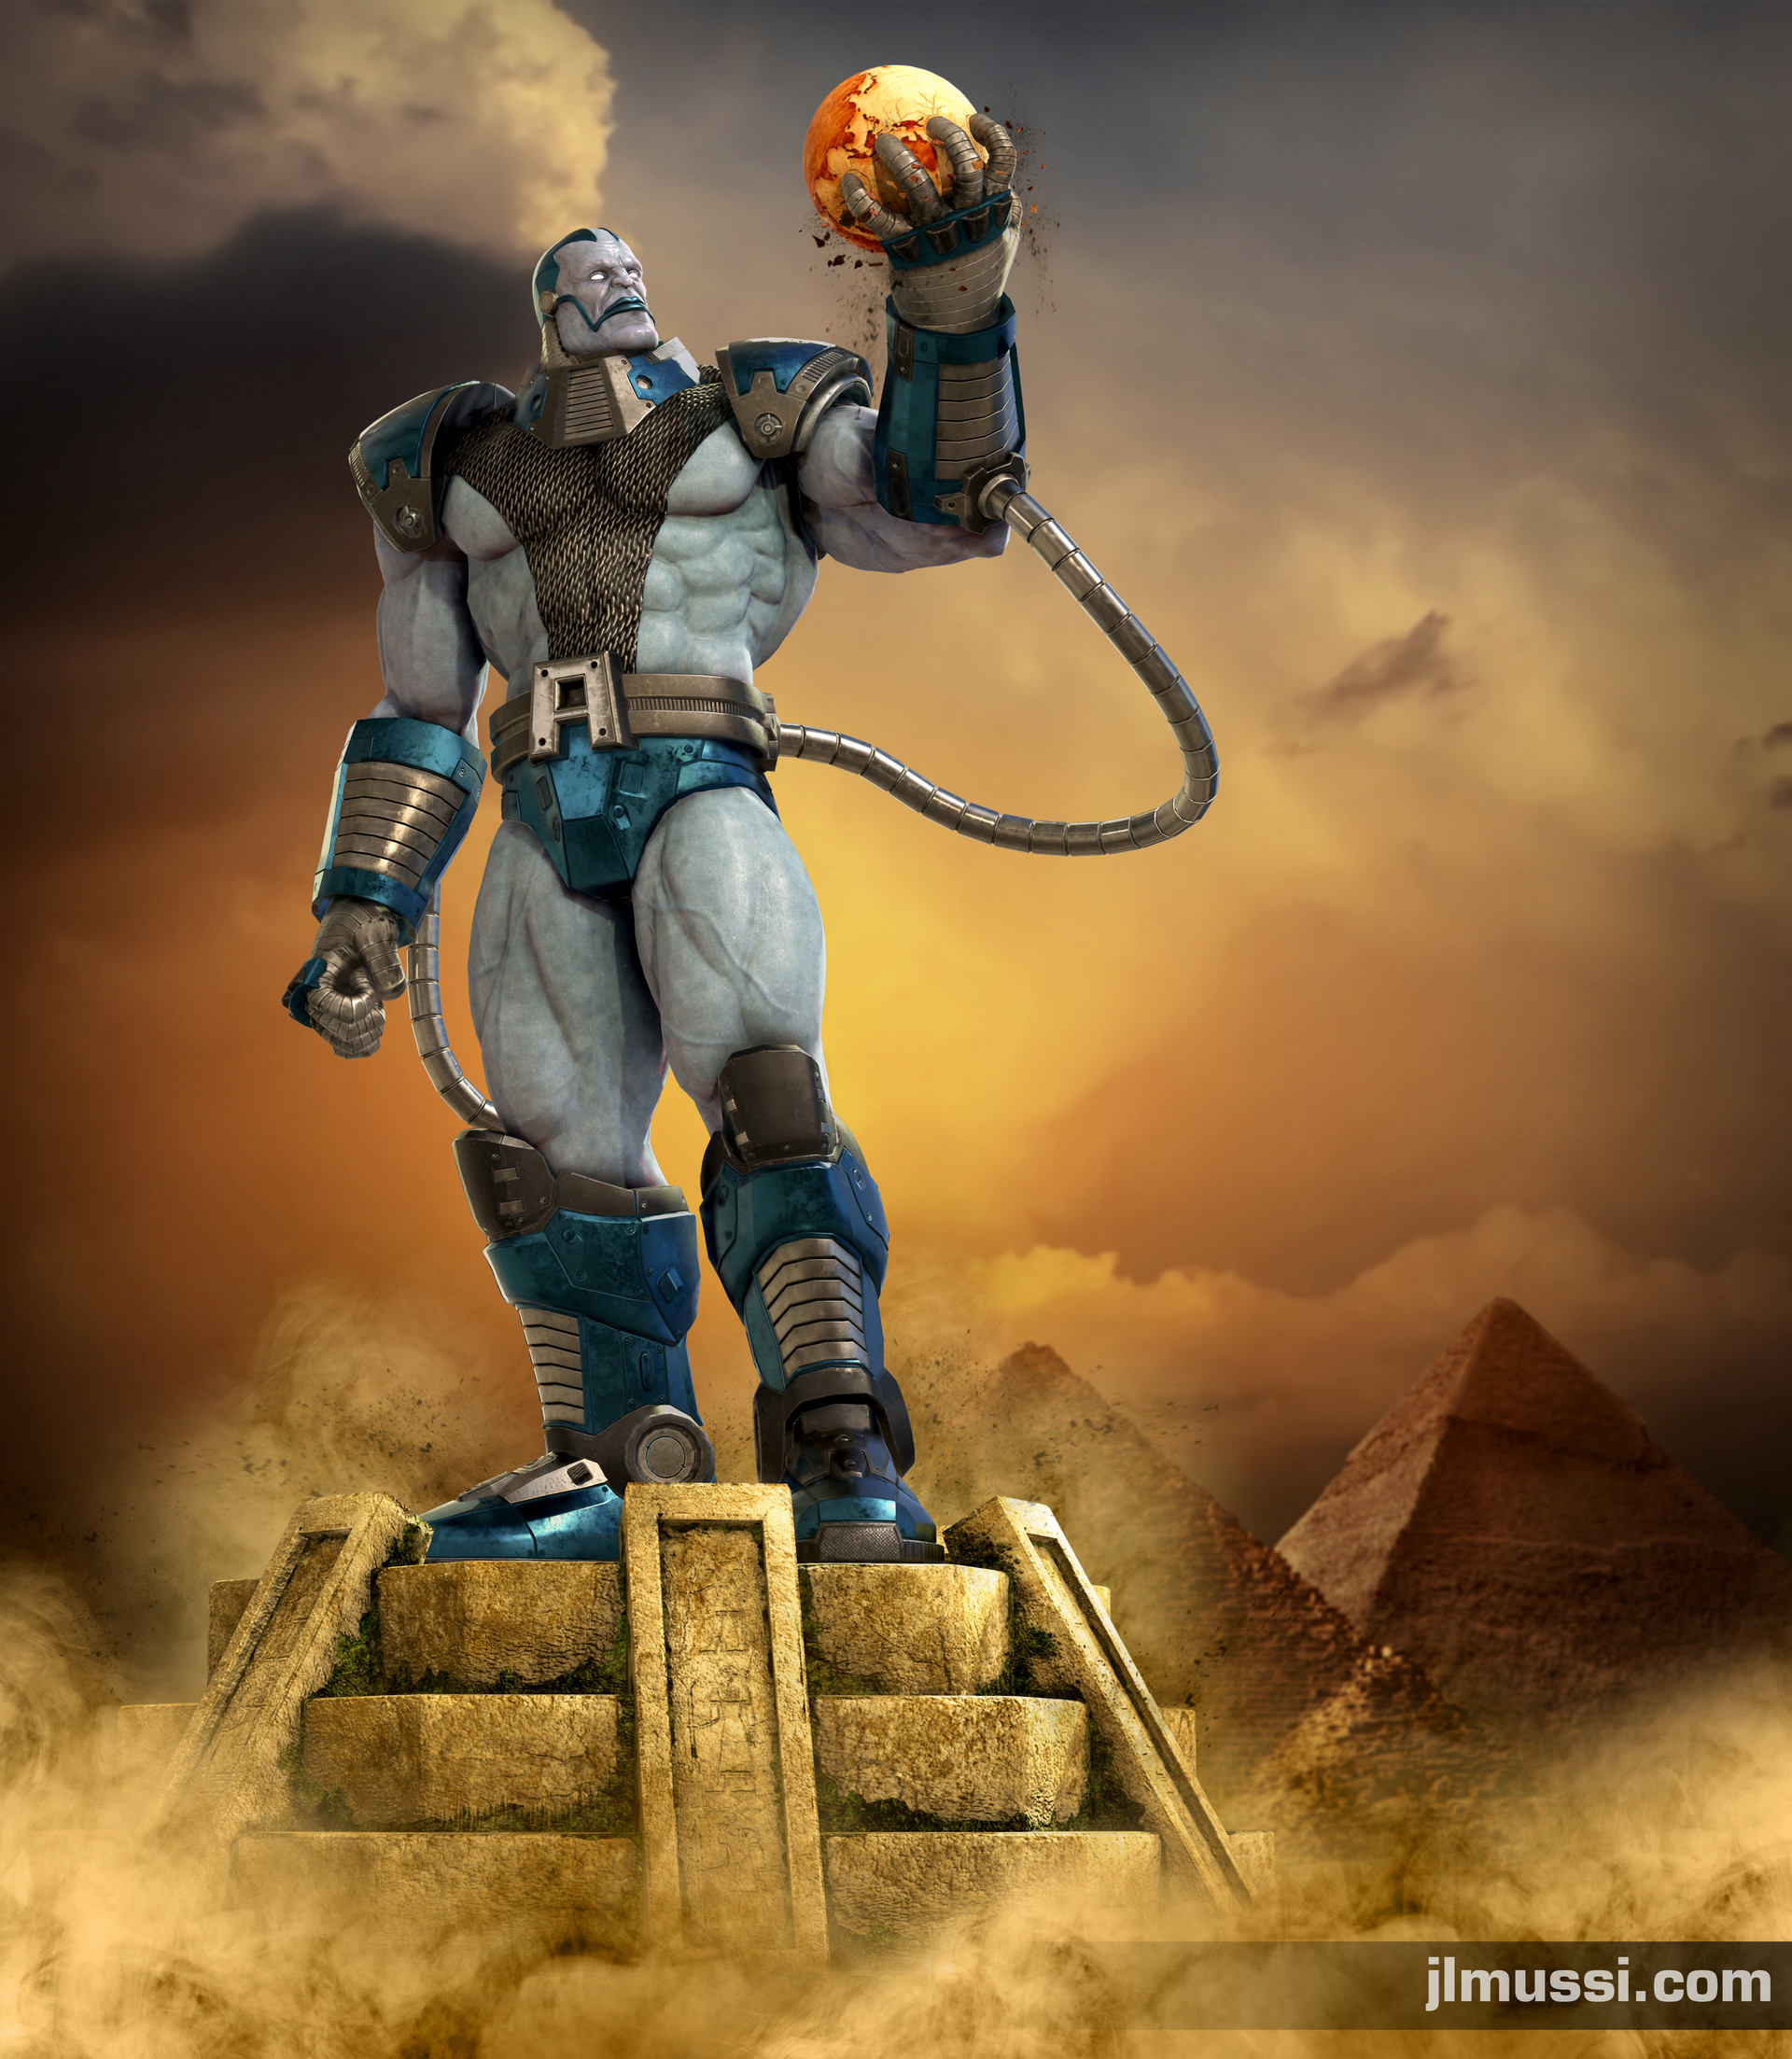
So I started the process of 3d printing my version of Apocalypse that I created a modeled a couple of years ago. I decided to create a bust of the character and print it life size.
I first did some research on traditional busts to get a sense of possible direction for the print and how the torso would be split up. I wanted to find a right balance of removing the enough of the upper body that the piece is not overly massive but leaving enough to get a sense of what the character would be like as a whole. I found out that cropping too much of his body would also make the neck armor overly large, so I needed the right amount of torso to balance it out.
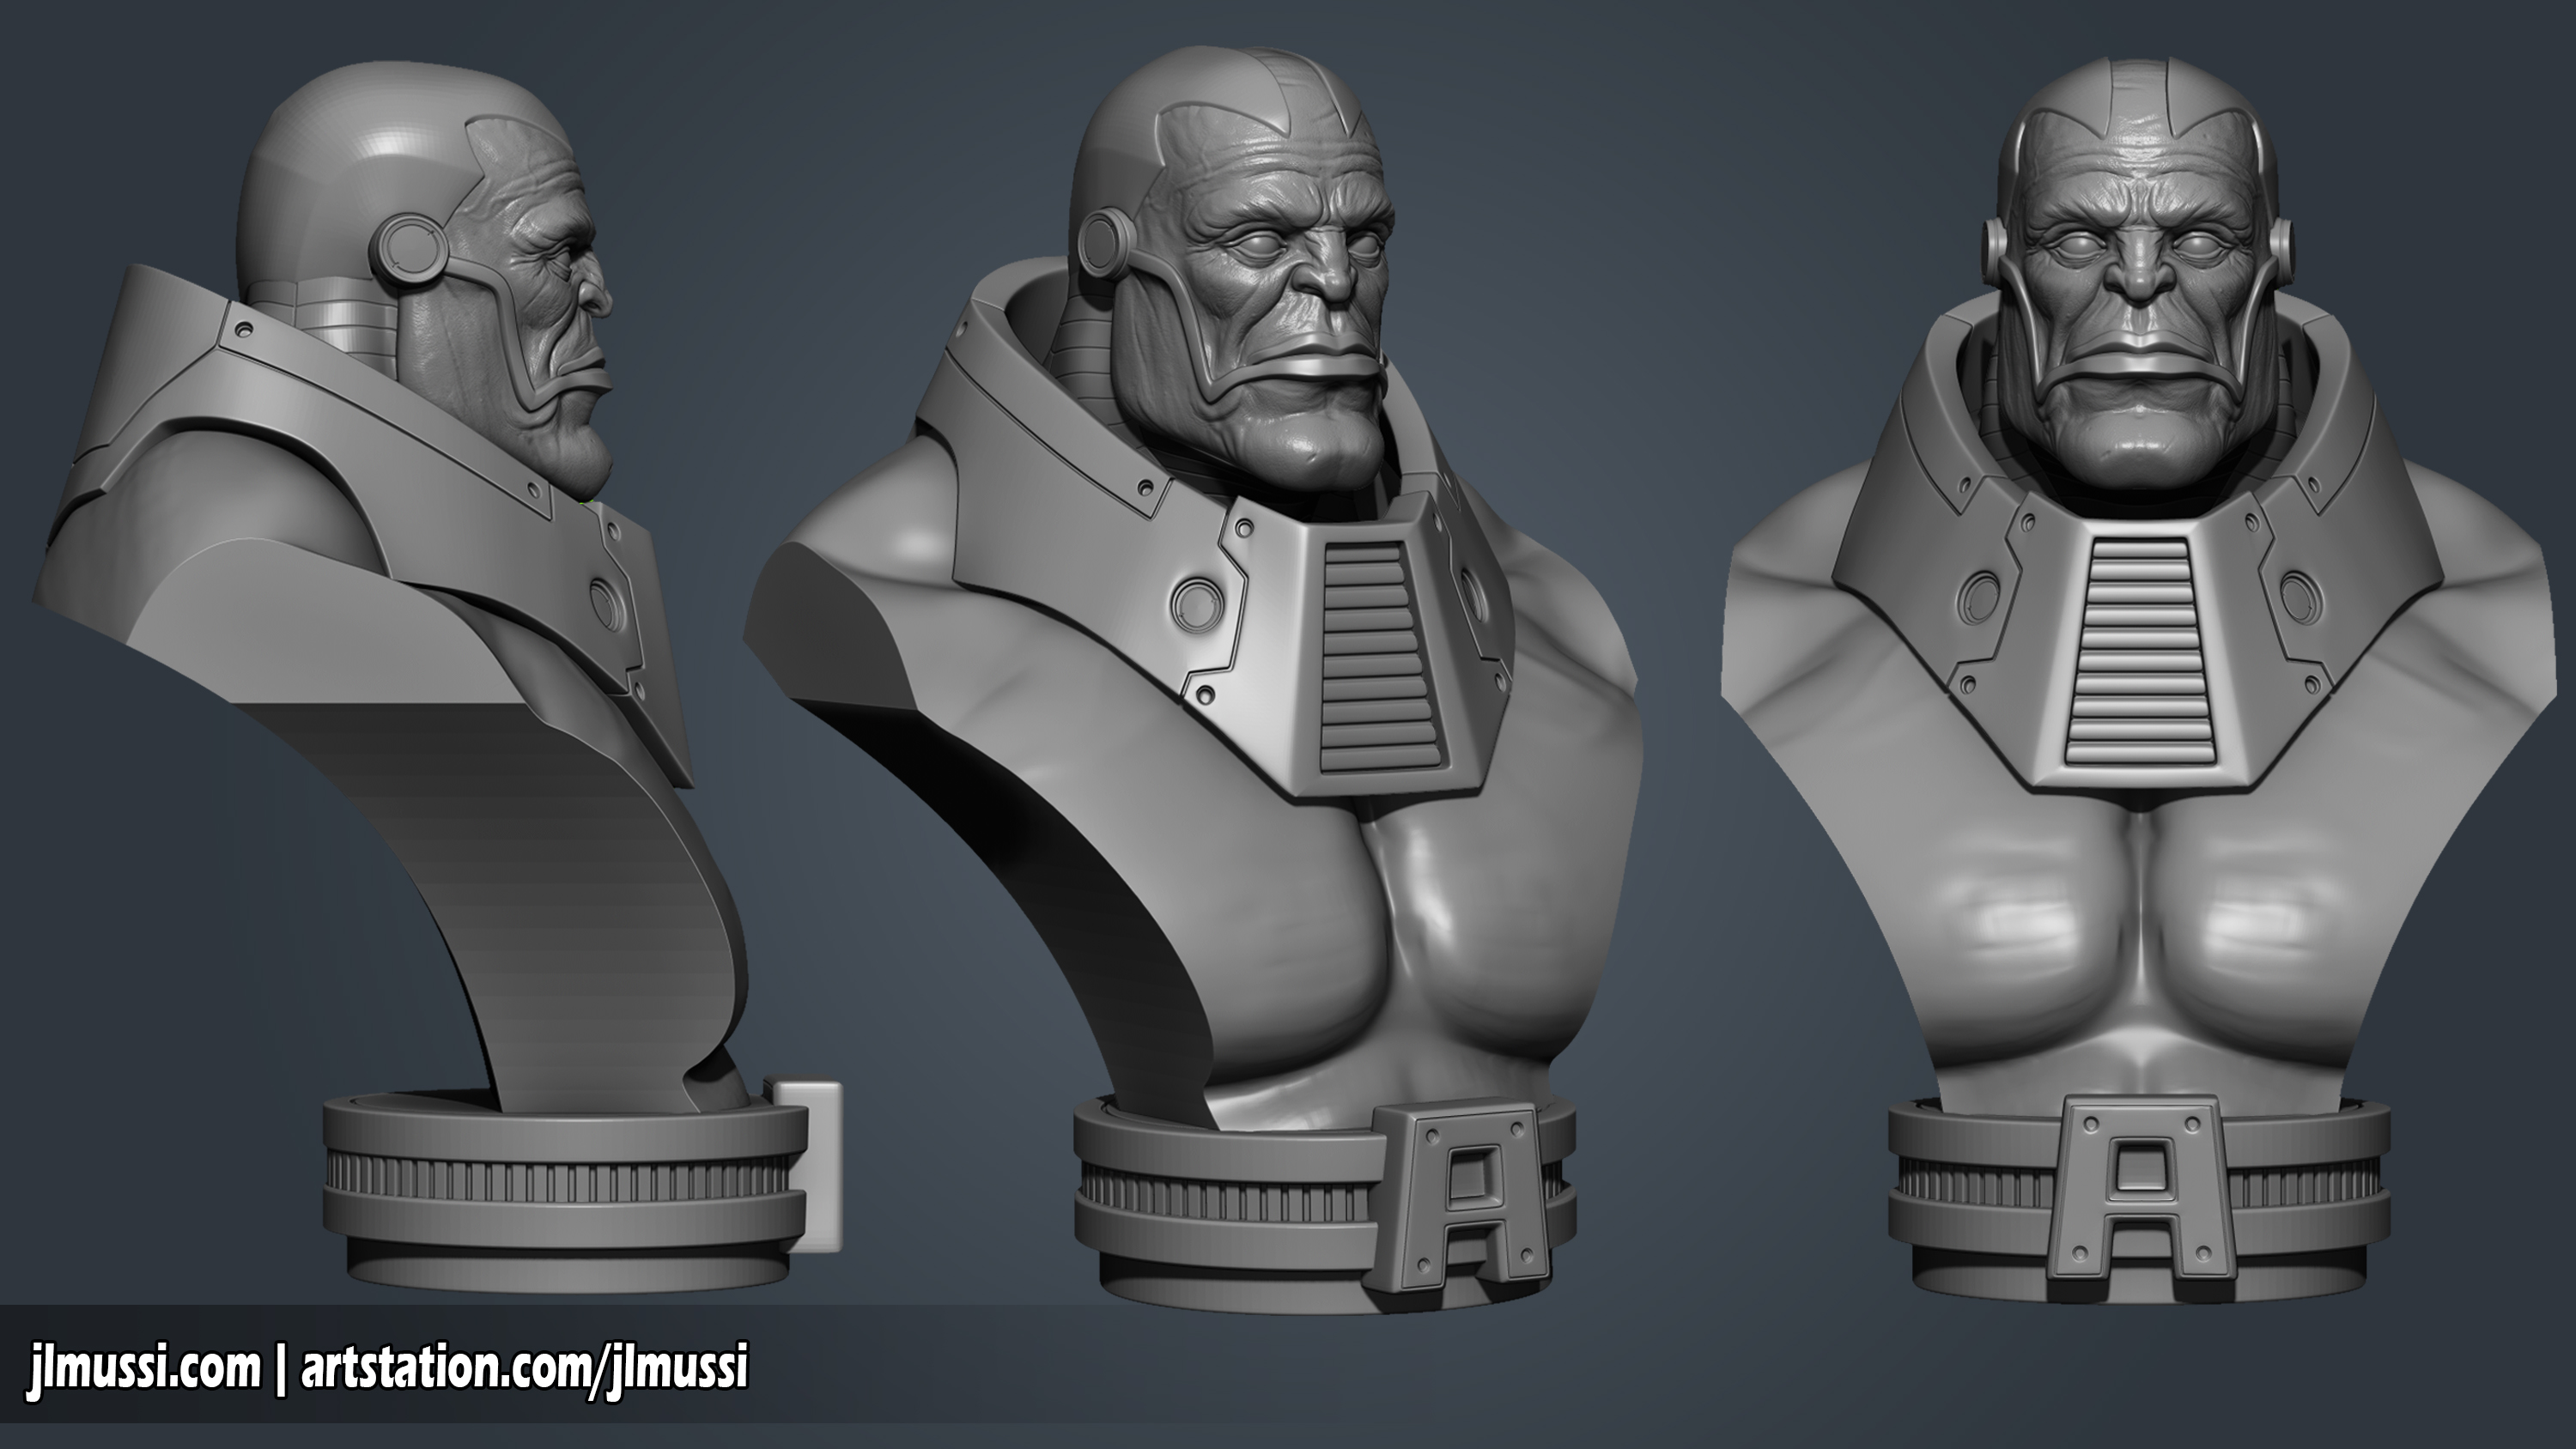
This was a good opportunity to put Zbrush’s 4R8 new boolean tools to the test. I started by creating basic shapes and just cutting into the body. The great thing about the booleans in Zbrush is that it’s a non destructive workflow. So once “bake in” your changes, a new subtool will be created, while still keeping your cut out shapes and original mesh intact. The other nice feature is that you can preview your booleans live and move around your geometry that is cutting away at your mesh and get an instant visual update.

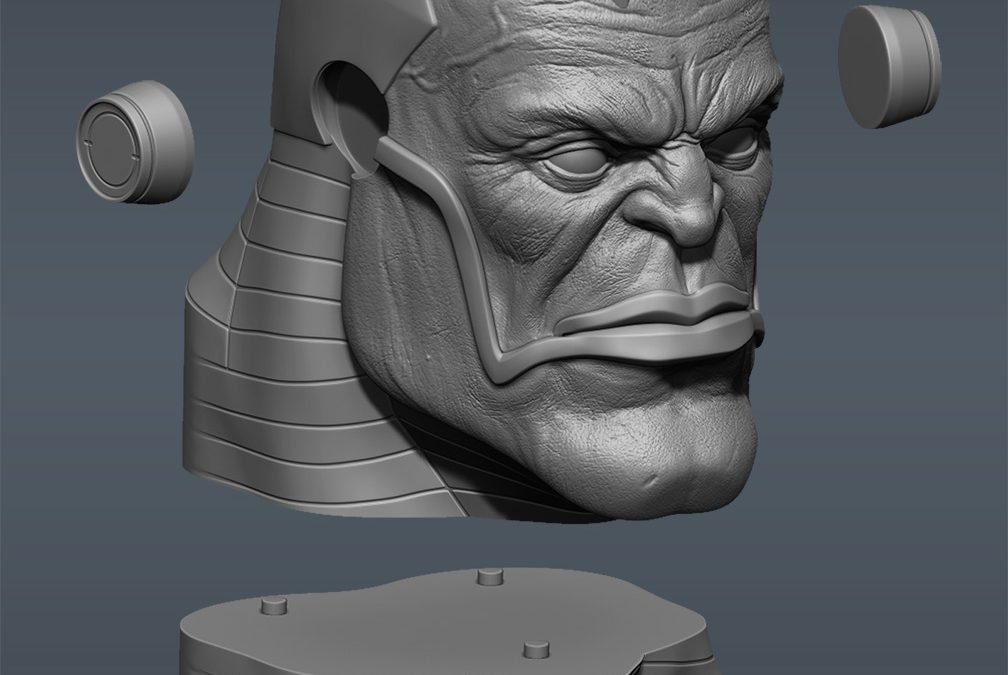
Once I had the torso cut, I then added a base and I ended up with something like this. This design might change slightly but for now it’s a good starting point. My main focus now will be to actually print the head and neck first.
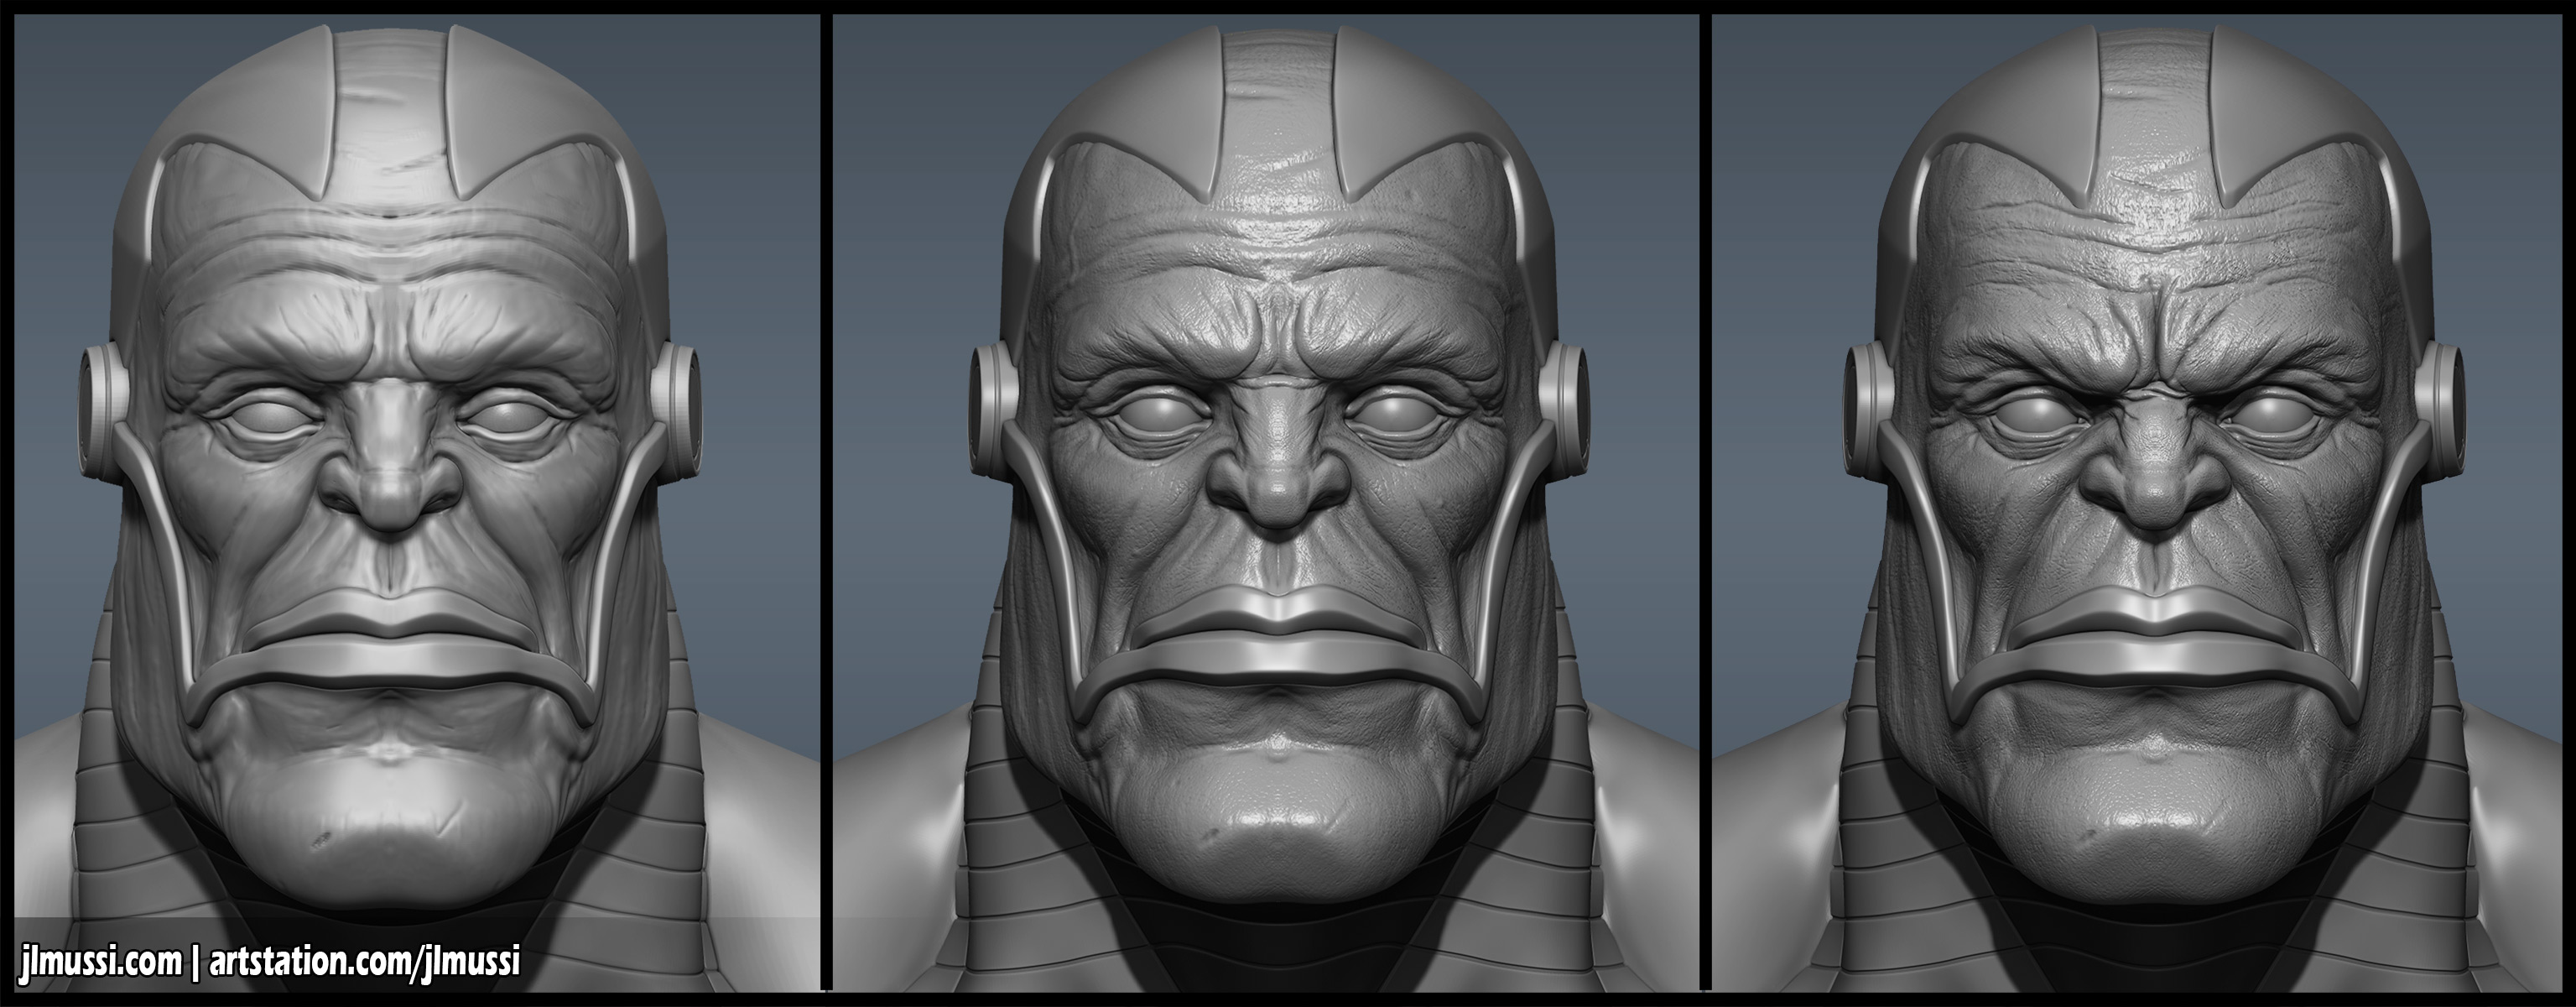
After starring at this for a while, I quickly realized something was off. I realized that the expression needed some work. It was perfectly symmetrical and the brows and nose had to be tweaked. I also had no pore details. I was able to put all the pores and wrinkle details and a separate layer. In my initial design this didn’t stick out as much nor was it my focal point.
With 3D printing you completely lose flexibility that digital art brings. If you do digital artwork long enough, this luxury can be taken for granted. Once it’s printed, it there. Staring at you. Any mistakes permanently reminding you that you are a failure at art. Okay maybe i went too far with that last sentence. But If was going to spend hundreds of hours printing this thing, it was gonna make sure it was perfect. The progression of the model looked something like this.
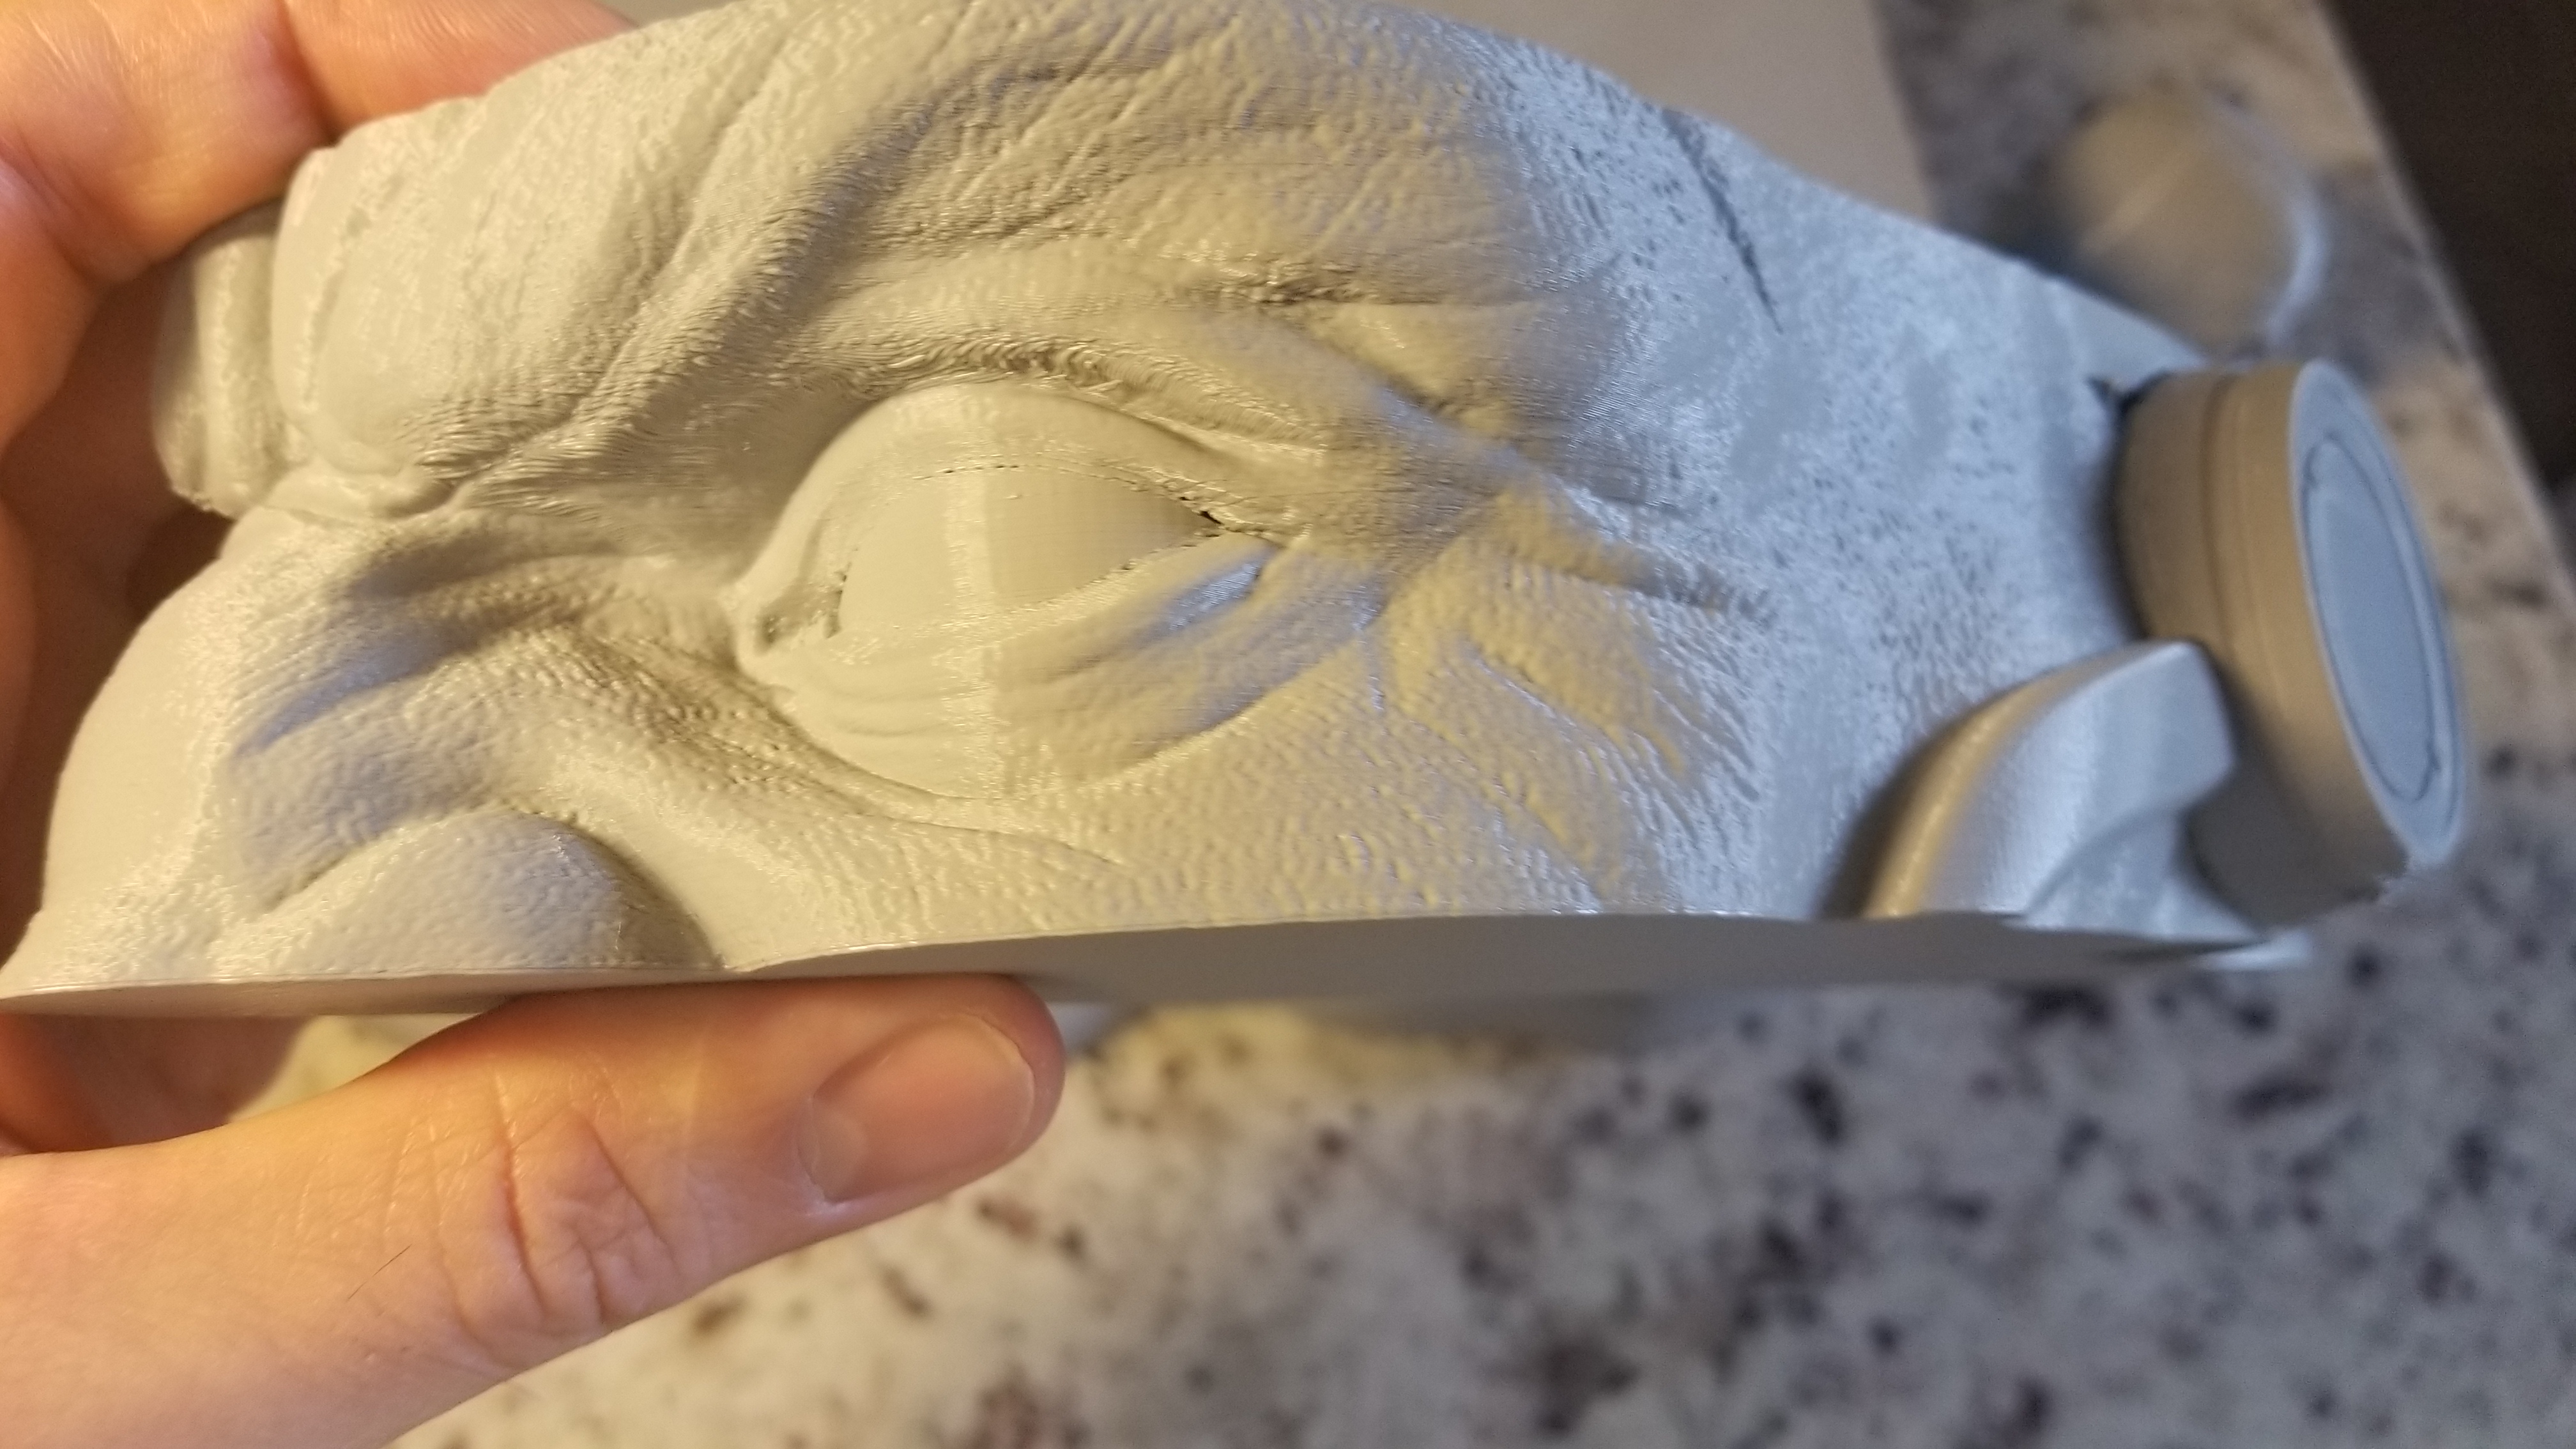
Okay much better! No it was time to start thinking about printing this beast. The first thing I thought about was the pore detail’s depth. I’m planning to eventually paint this and I knew the paint and primer were going to fill in some of those crevices. I also wanted to see how well the pores and fine details would come out. I sliced up a section of the face and printed out. I then masked off parts of the face and hit it with a light coat of primer. The primer didn’t fill in the pores too much but I figured the pores could be pushed a bit more. Luckily since I all those details on a separate layer in Zbrush, that wasn’t an issue.


Recent Comments